 |
 |
 |
 |
Wheels and Axle Sets
Replacement Wheel and Axle Set for your Sportube Series 1, 2 or 3.
Includes: - Two wheels
- Two locking nuts
- One axle
|
|
 |
 |
 |
 |
 |
 |
 |
 |
 |
 |
 |
Features
- Series 1 Axle - 6"
- Series 2 Axle - 9.25"
- Series 3 Axle - 11"
Installation Instructions Below:

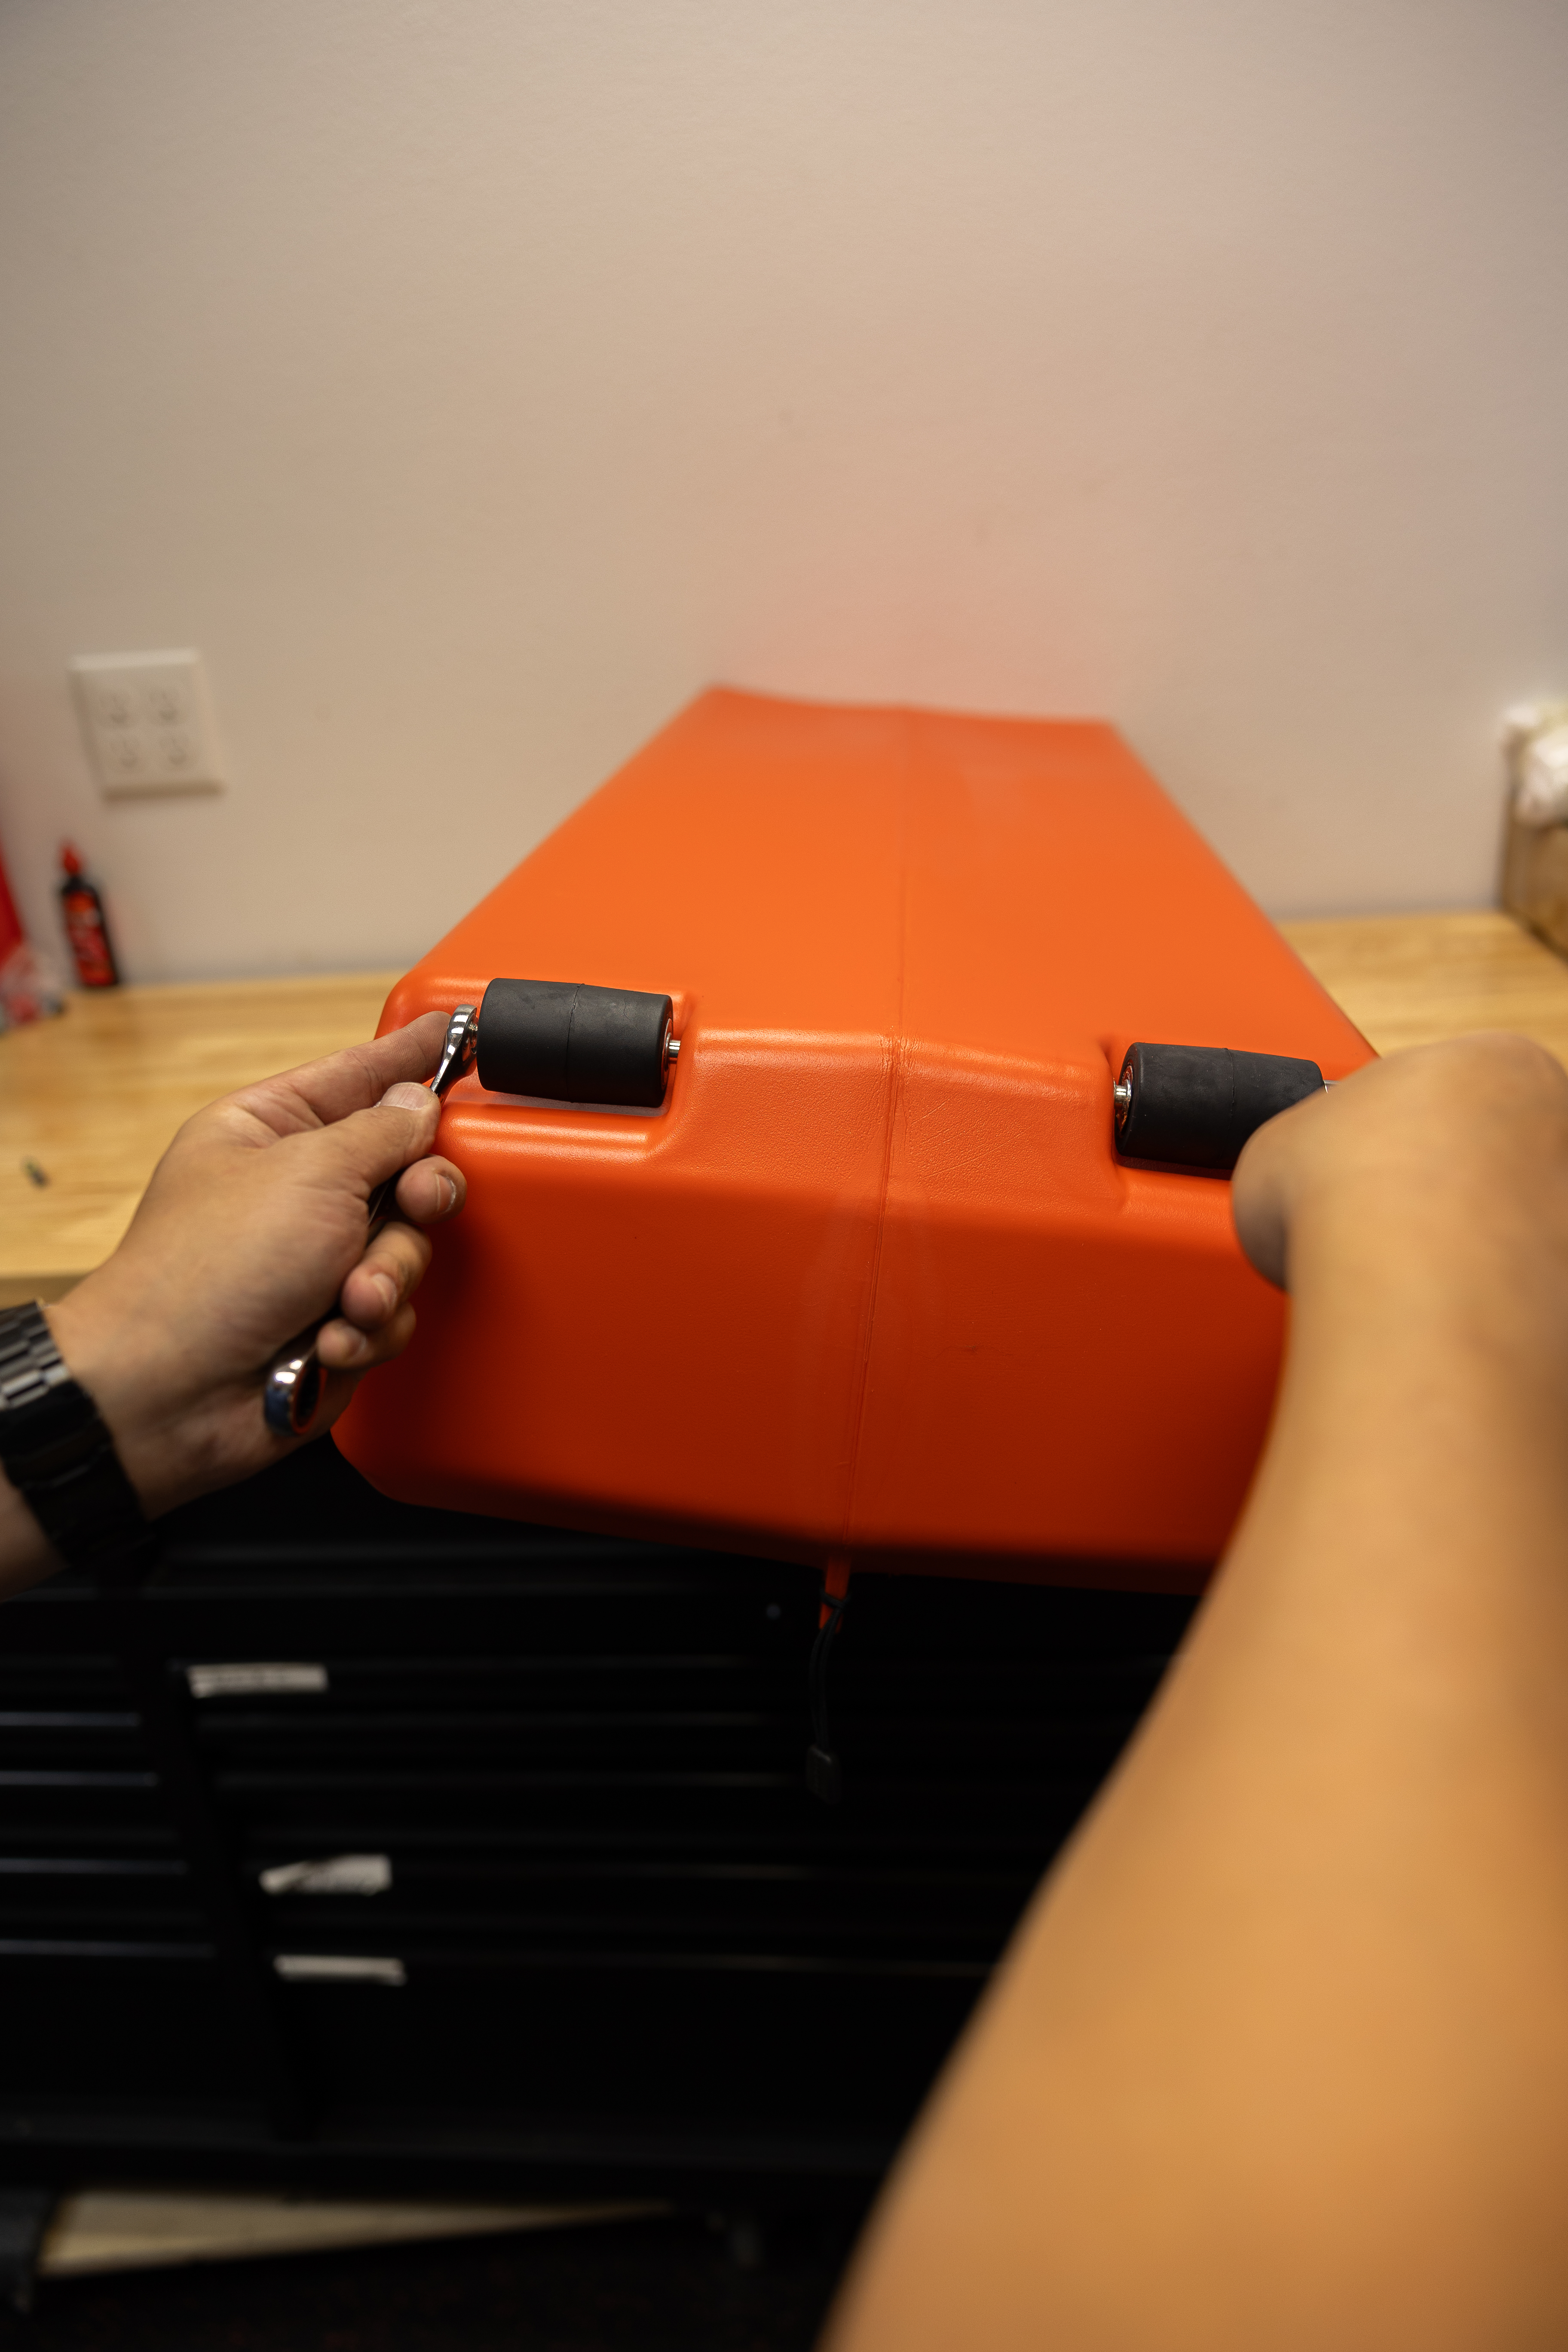
You will need 2 wrenches 7/16" or 11mm or two adjustable ones.

1. While grasping both locknuts with wrenches, turn counterclockwise to loosen each nut. If one side is removed before the other, it may become necessary to use pliers or other method to prevent the axle from rotating while the remaining locknut is loosened.

2. Once both locknuts are removed, the wheels should slide off of each side.
 Incorrect position (the smaller side of axle is shown on the left in this photo) Incorrect position (the smaller side of axle is shown on the left in this photo)
 Correct position for removal/installation with small side entering/exiting the larger hole Correct position for removal/installation with small side entering/exiting the larger hole
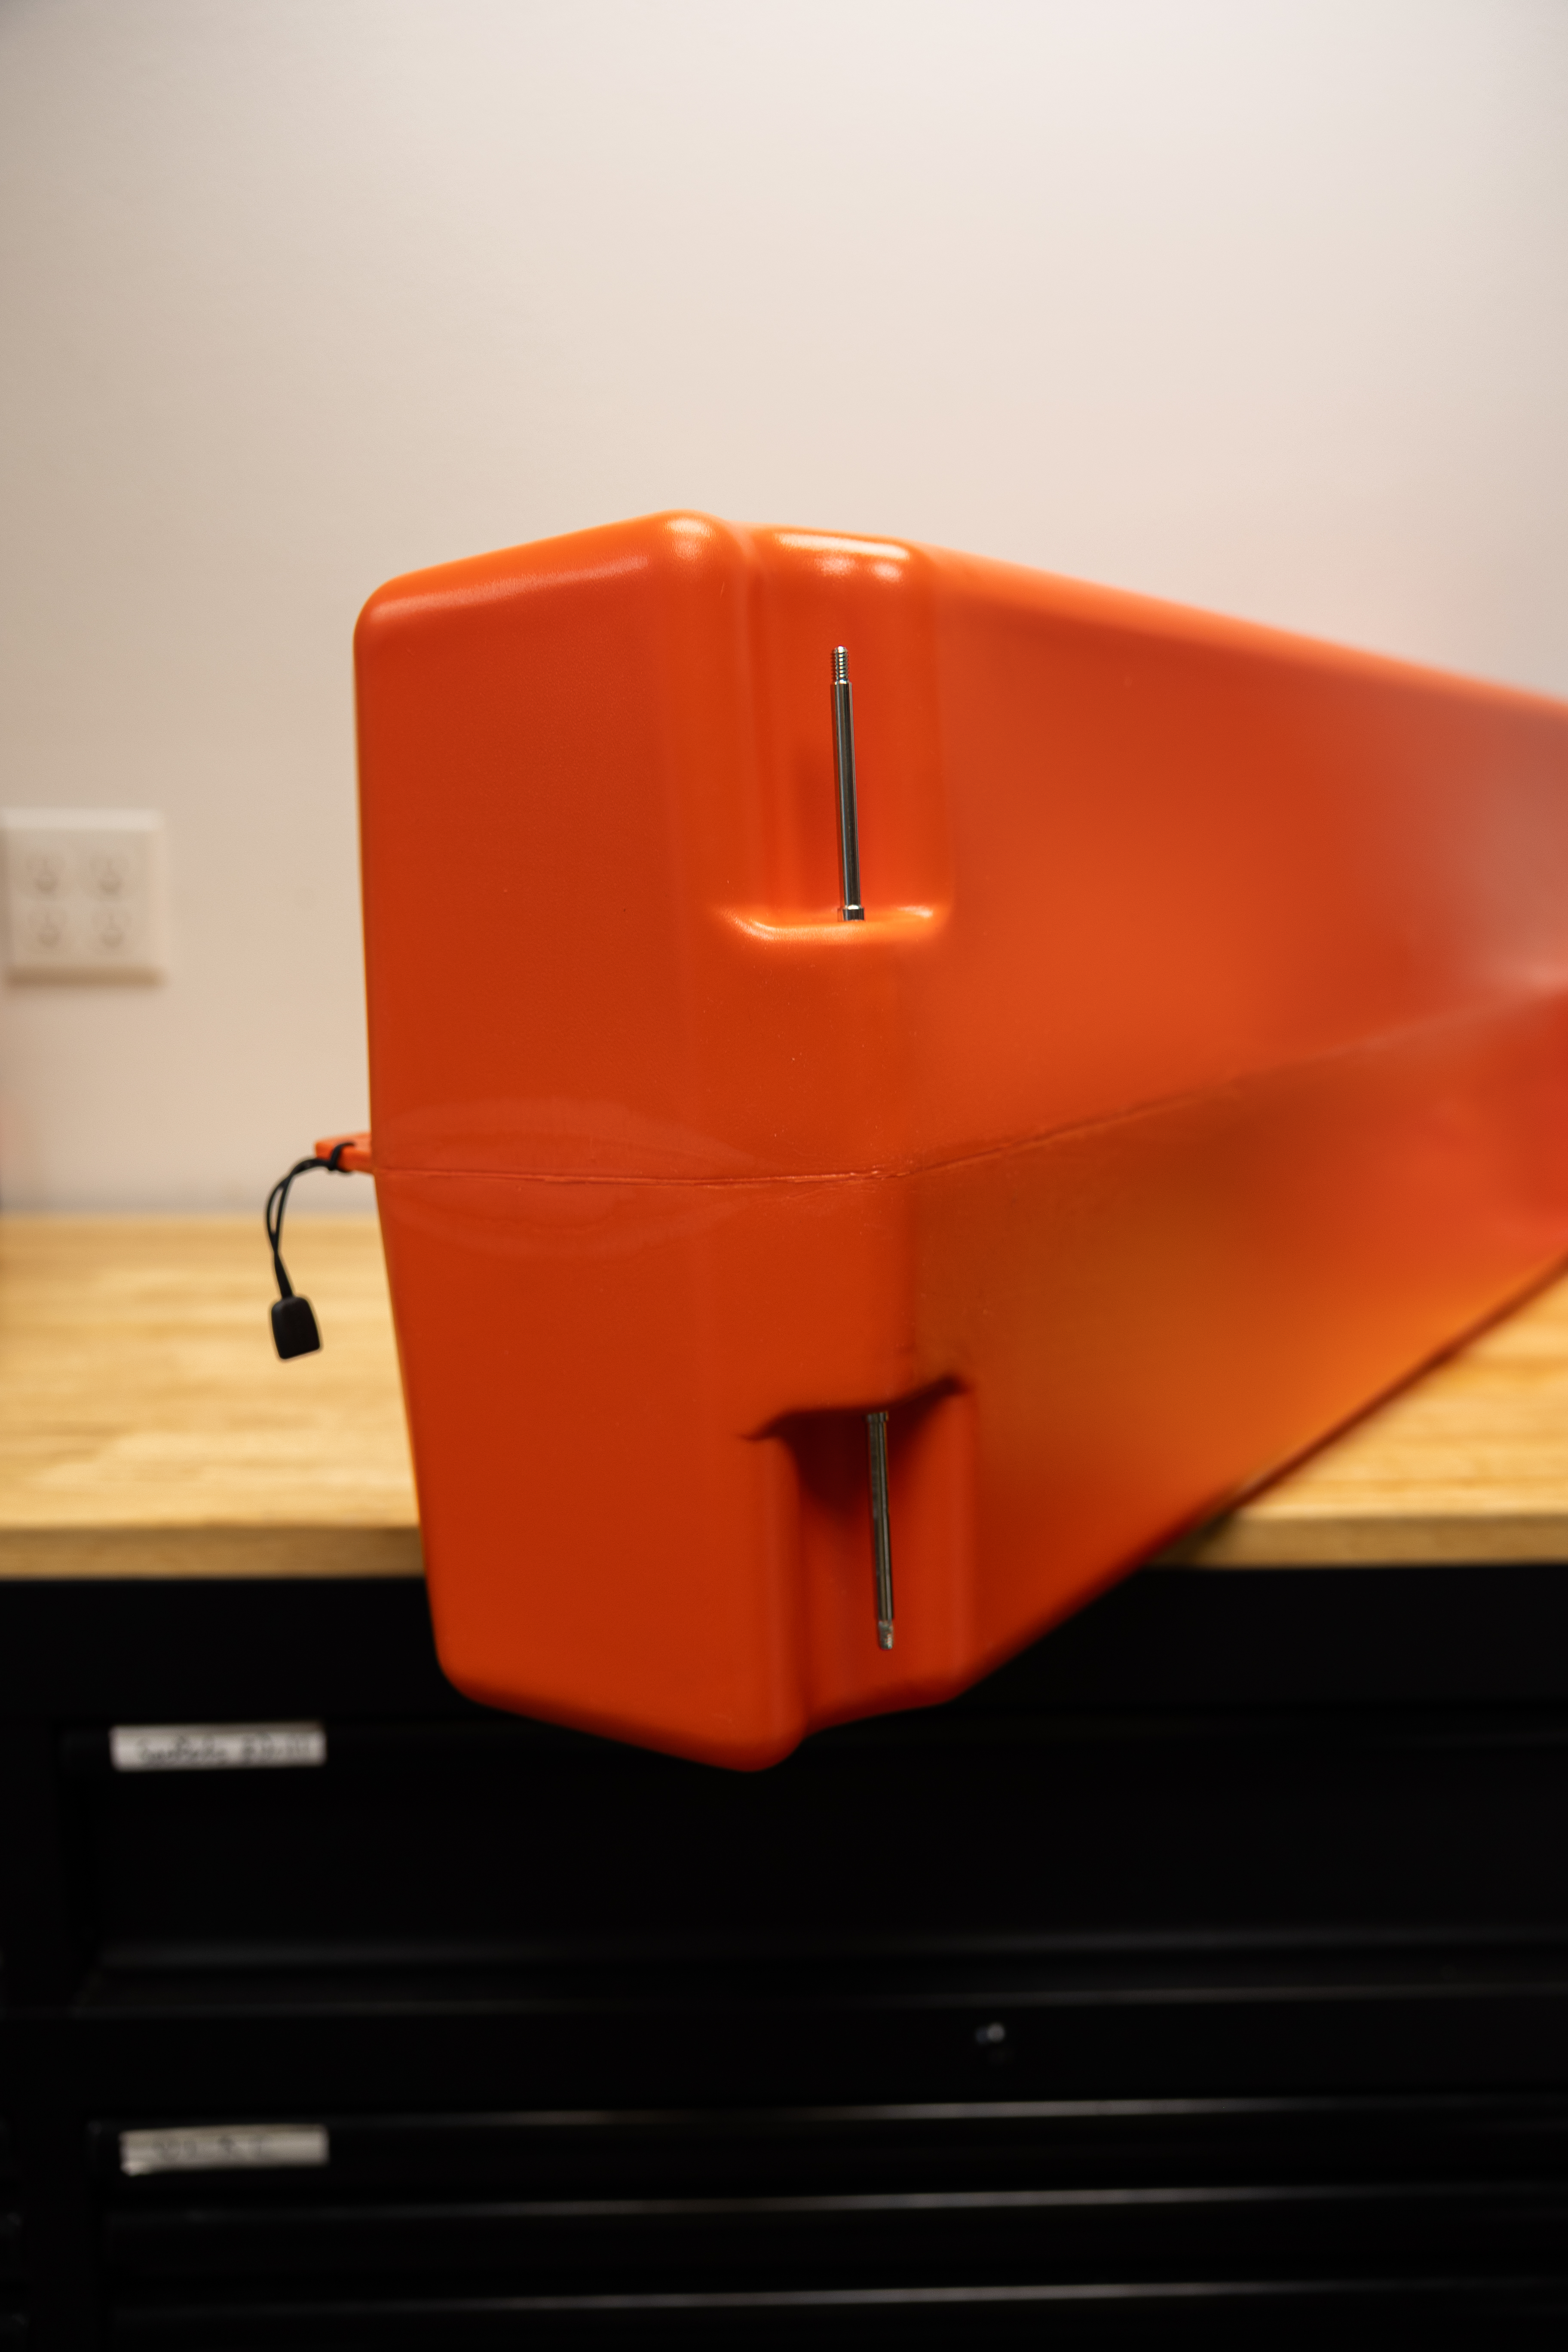
3. As shown above, each side of the axle is machined to different diameters resulting in an asymmetrical axle to secure the axle assembly inside the plastic. The axle is only removeable/insertable through the larger of the two holes drilled in the plastic of the case. If not easily removed, please ensure you are attempting to remove it in the correct direction before using additional tools to hammer, push or pull from the plastic, as doing so could result in irreparable damage.

4. Insert the new axle into the larger of the two holes in the lower half of the case. The smaller end of the axle should protrude slightly.
Once axle is installed, if you are replacing your wheels, install them now.
Once wheels have been replaced, it is recommended to hand tighten locknuts first to avoid cross threading.
Finally, tighten each side with wrenches and replacement is complete!
Please note: there is no specific recommended torque value other than sufficiently tight.

|
|
 |
 |
 |
 |

|


 Airline smooshed


